D-Link
Step 1 – Connect the router
First, connect the router to the power supply and then connect it to your device.
Wi-Fi
Once your router has booted up, you can connect to the Wi-Fi network. This does not yet establish an internet connection, but it does allow you to configure the router. The network name (SSID) and Wi-Fi password can usually be found on the back of the device.
💡 Tip: If you cannot connect, check that you are using the correct password and that the router has started up completely (check the indicator lights).
LAN
Alternatively, you can connect your device directly to the router using a network cable. Simply connect a free LAN port on the router to the network interface of your device. The connection is usually established automatically.
💡 Tip: If you encounter problems, try a different cable or a different LAN port on the router.
Step 2 – Open the configuration page
Start a web browser and open your router's configuration interface.
To do this, go to http://dlinkrouter.local. Then navigate to the menu items SETUP → INTERNET.
⚠️ Note: If the page does not open:
- Ensure that you are connected to the router (via LAN or Wi-Fi).
- Alternatively, try the address http://192.168.0.1.
- If it still does not work, restart the router and your device.
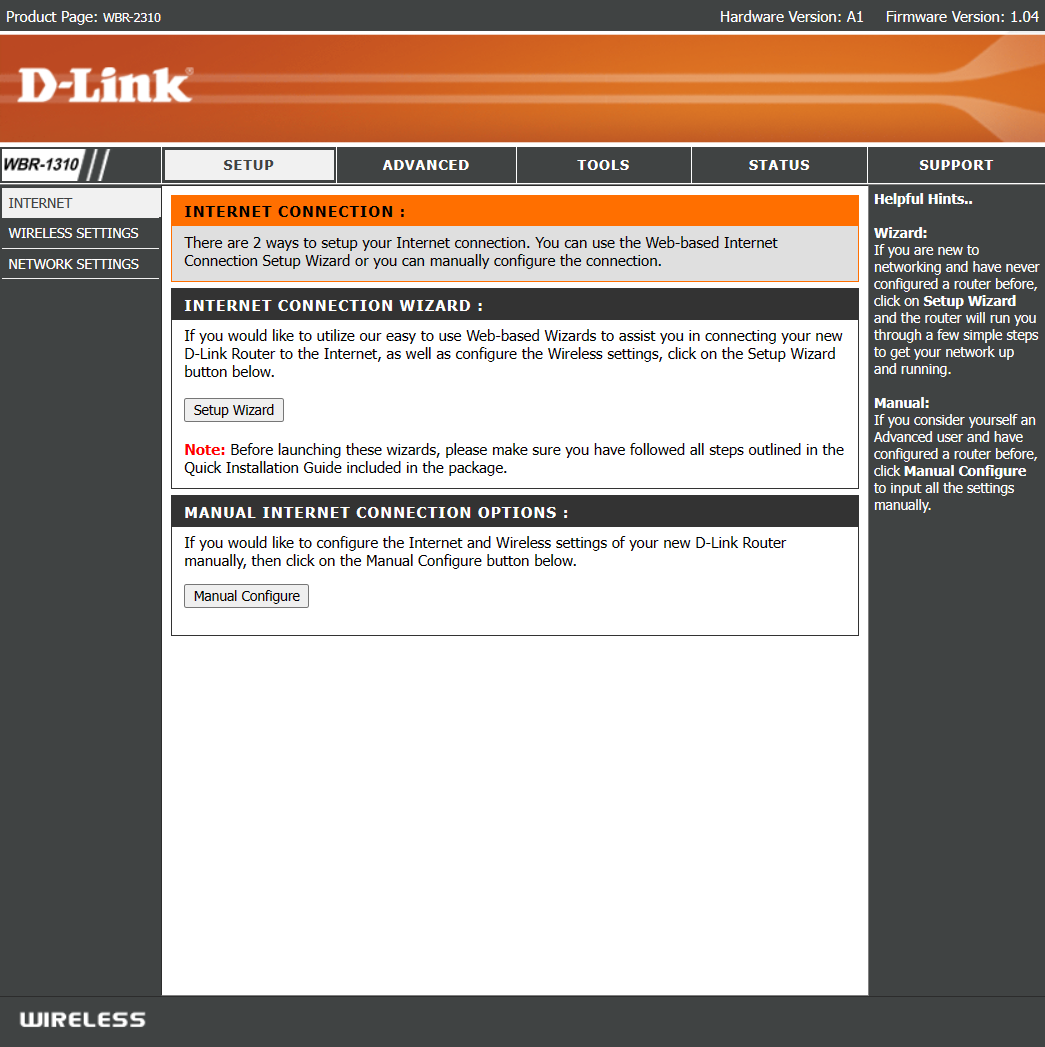
Step 3 – Select manual configuration
Select the Manual Configure option in the web interface.
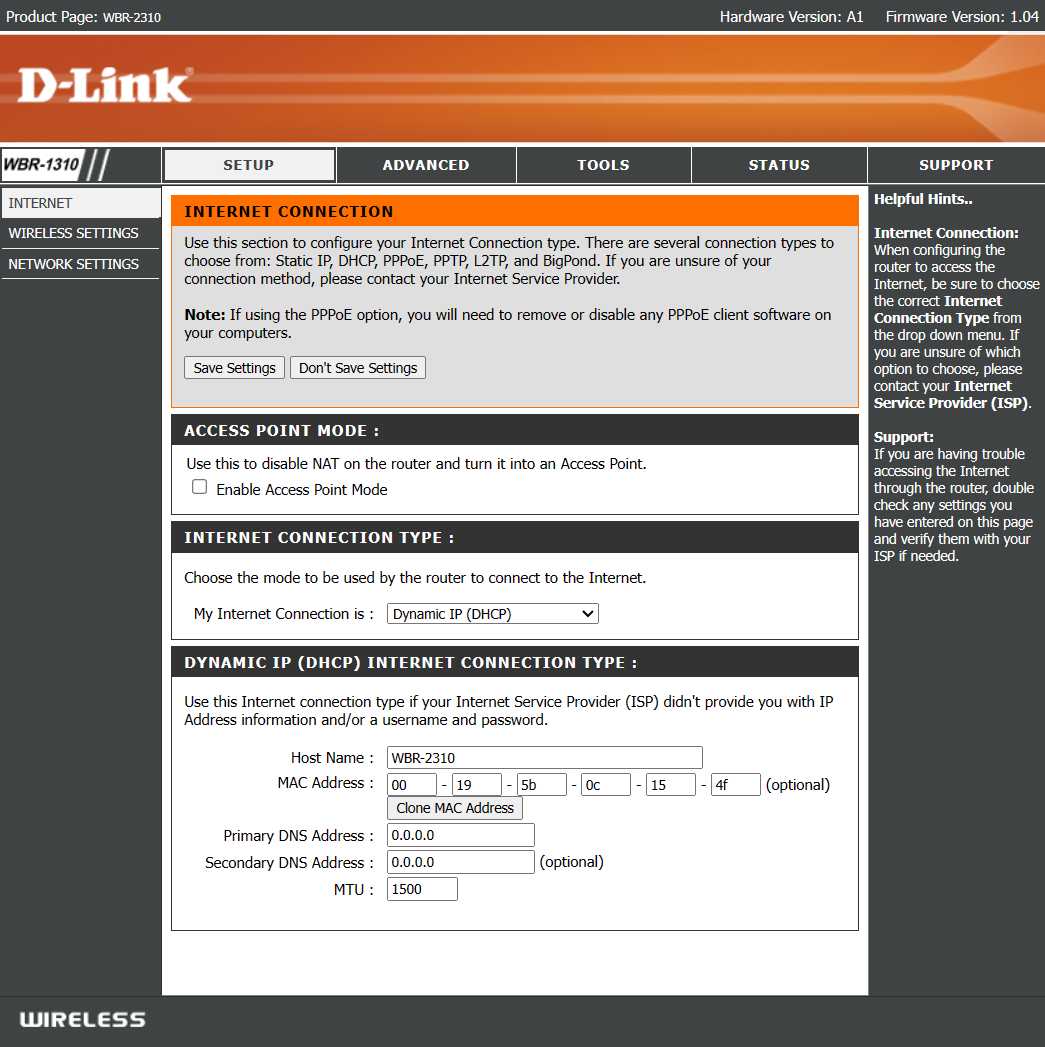
Step 4 – Set connection type
Now specify how the router should establish the Internet connection.
Change the setting from Dynamic IP (DHCP) to Static IP.
Step 5 – Enter network settings
Now comes the most important step:
Enter the IP address, subnet mask and DNS servers that were sent to you by email.
⚠️ Important: Please do not use the data from the screenshot! Only use the information sent to you.
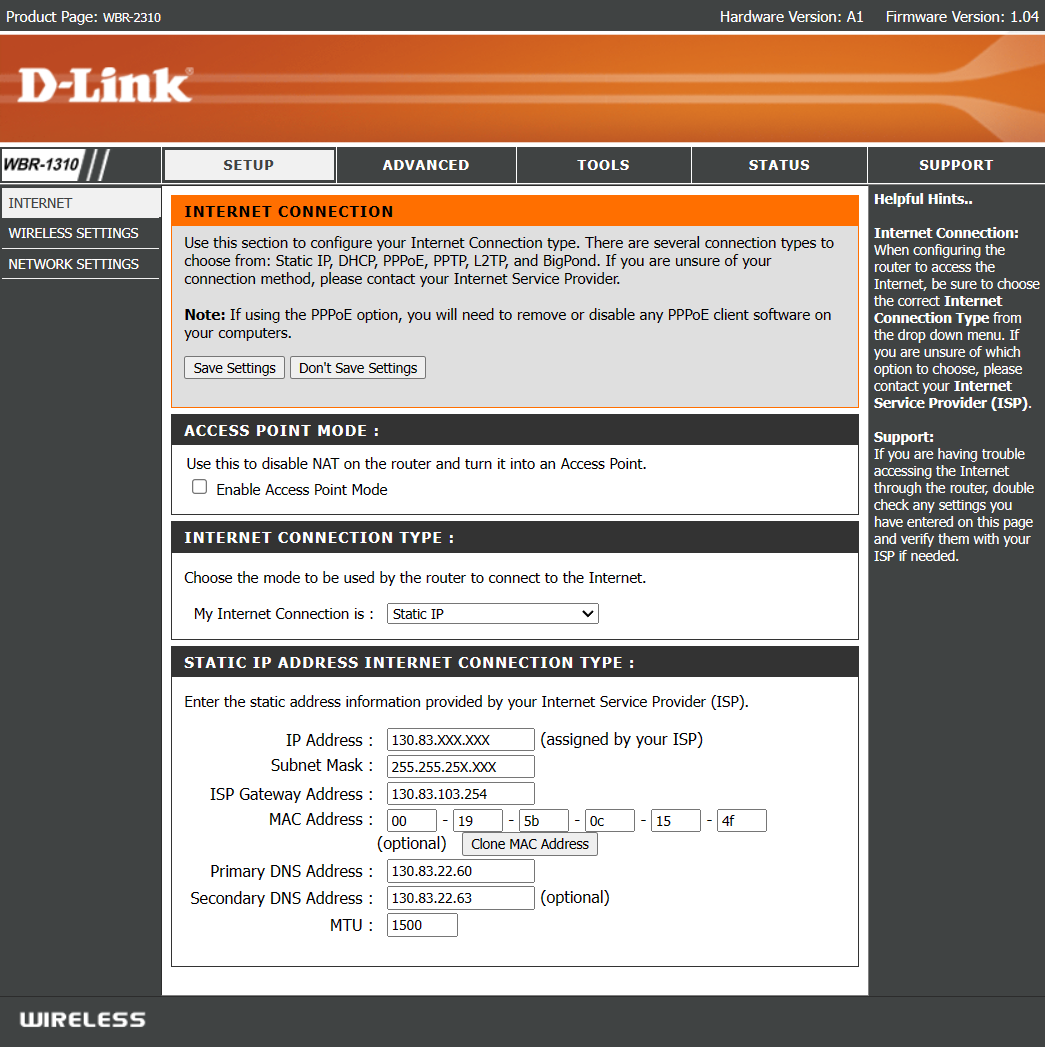
💡 Tip: If you are unsure, copy the values directly from the email to avoid typing errors.
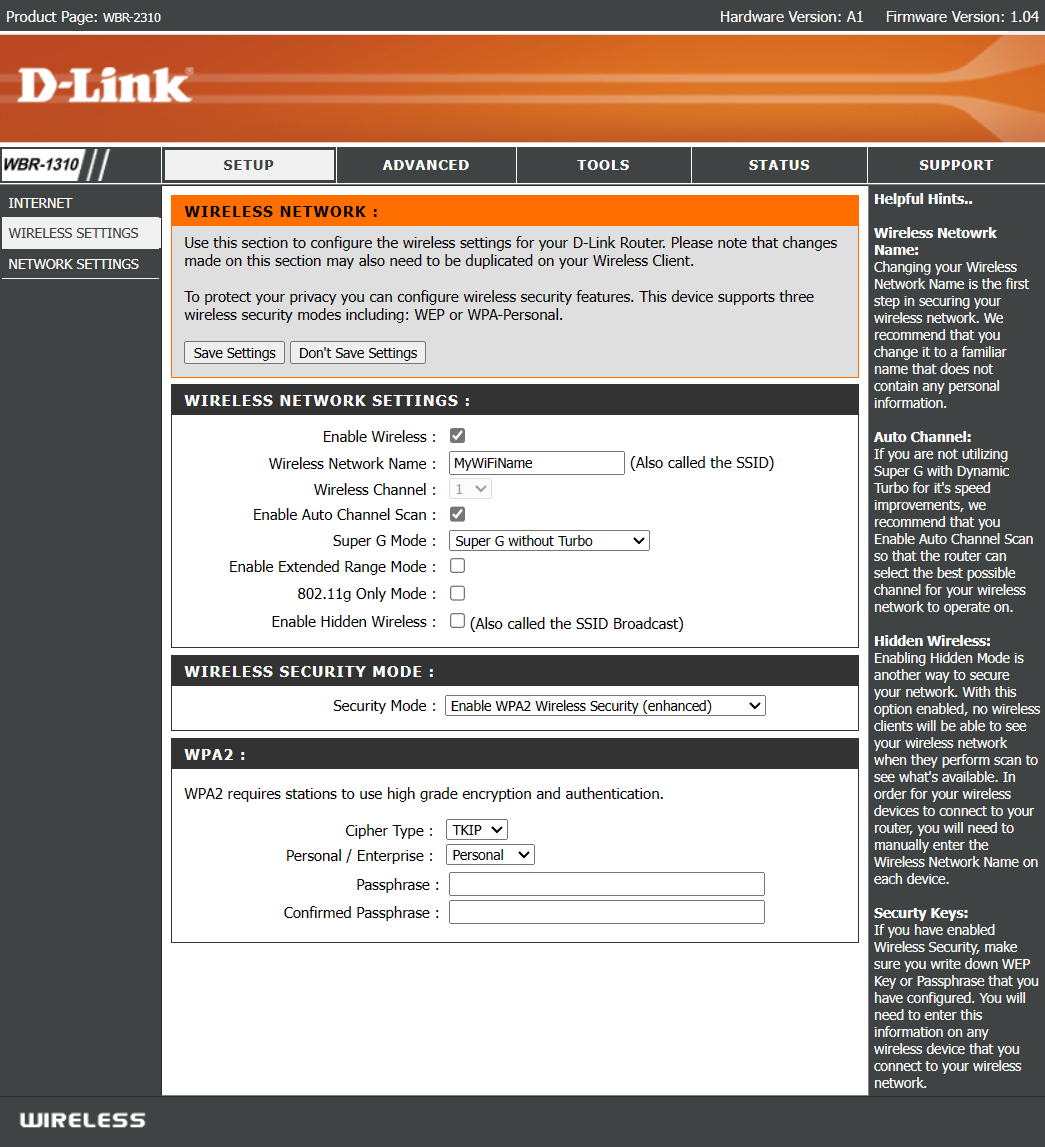
Step 6 – Configure Wi-Fi
Finally, set up your Wi-Fi. Pay particular attention to the following:
- Secure encryption: Use at least WPA2, or better still WPA3 if available.
- Strong password: Choose a long and complex password to protect your network.
- Unique Wi-Fi name (SSID): Avoid standard names and use a unique name.
Step 7 – Connect the router to your home network
Finally, apply all settings and connect the router to the network connection in your room: Plug one end of a network cable into the WAN socket on the router and the other end into the LAN socket on the wall.
💡 Tip: The WAN port on the router is often colour-coded or labelled “Internet”.